Since I haven't updated on the harp any since I got the kit a little over three years ago,
I am doing a long blog post with pics that I have taken along the way.
(Sorry that they are a little out of order and that I haven't updated sooner)
I am doing a long blog post with pics that I have taken along the way.
(Sorry that they are a little out of order and that I haven't updated sooner)
 |
| Our empty van before we got the flaming birch. |
 |
| Our van after we got the flaming birch. |
 |
| Cutting the birch soundboard |
 |
| Giving the soundboard a smooth edge |
 |
| Cutting the fancy edge on the trim pieces |
 |
| What the finished edge looks like |
 |
| Working on the holes for the trim pieces to fit together |
 |
| Support on the back of the soundboard |
 |
| Cutting the right lengths for the base |
 |
| Making the boards level |
 |
| Gluing the boards together to make the base |
 |
| Sanding the dried boards |
 |
| Cutting out the shape of the base |
 |
| Sanding the base |
 |
| Cutting out part of the headpiece |
 |
| Finished headpiece |
 |
| Fitting the middle trim piece |
 |
| Trim pieces |
 |
| Nailing the trim pieces on |
 |
| Gluing the boards for the neck |
 |
| Sanding the boards |

 |
| Cutting the holes for the braces |
 |
| The braces |
 |
| The braces with amp holes drilled |
 |
| The sides, top, bottom and braces of the sound box |
 |
| The pillar |
 |
| Neck and pillar together |
 |
| Neck with cutout Dad put flaming cherry in it as a decoration and as an extra brace for the neck. |
 |
| Finished sound box with base and headpiece attached |
 |
| Bun feet |

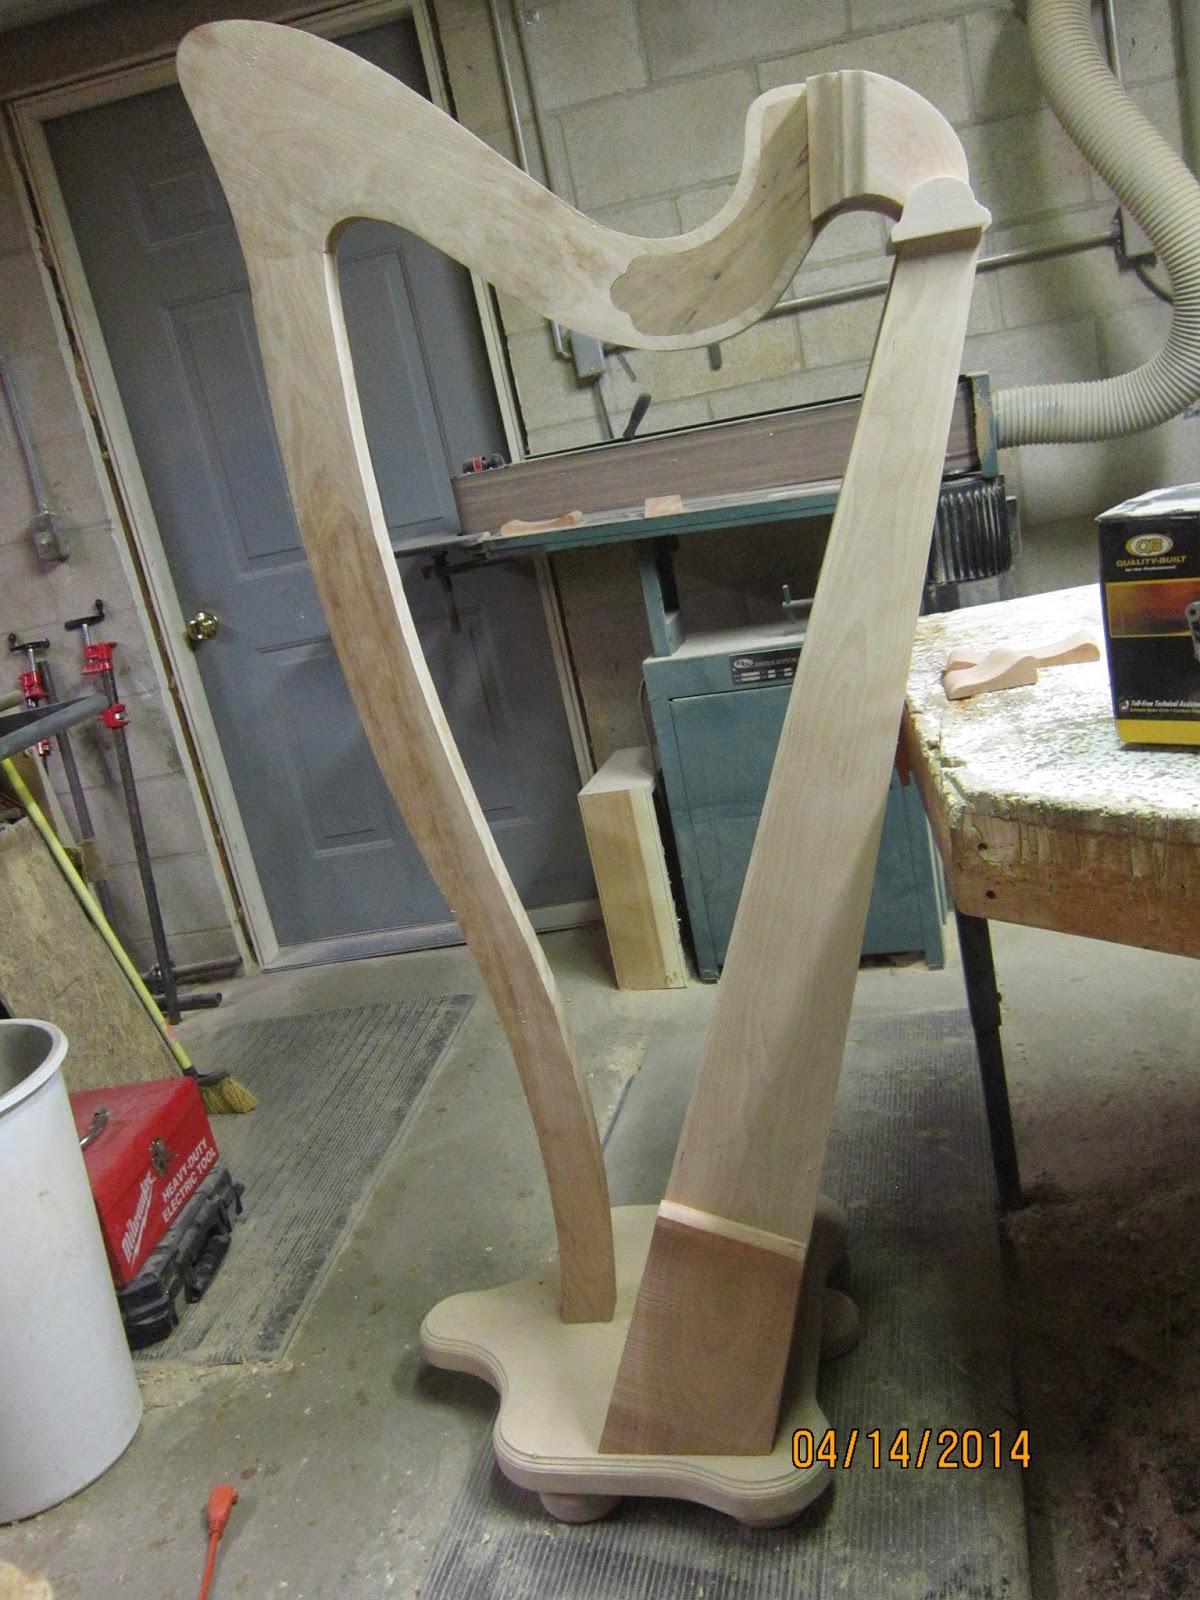 |
| As far as it is right now |

 |
| Head piece |
 |
| Base The accent on the side is flaming cherry too. |